Monday, October 31, 2011

Celestial/Outer Space Challenge

 PA300018

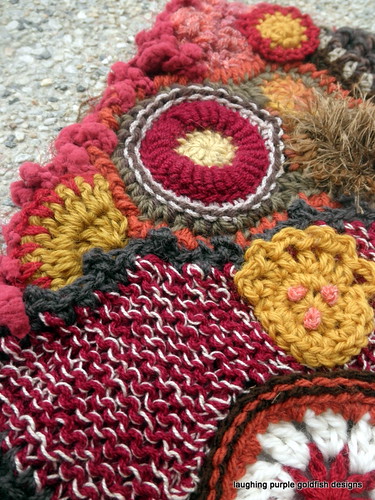
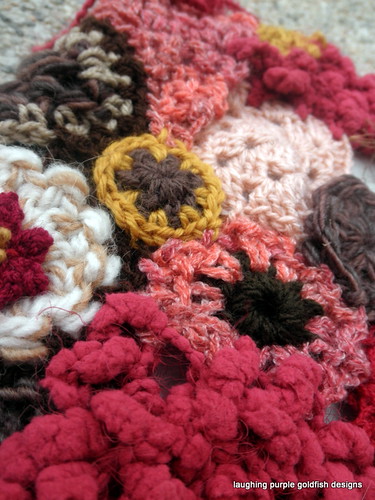
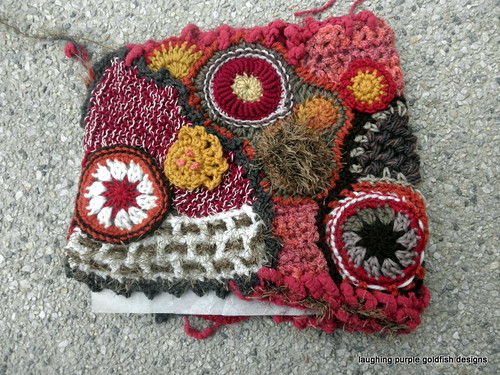
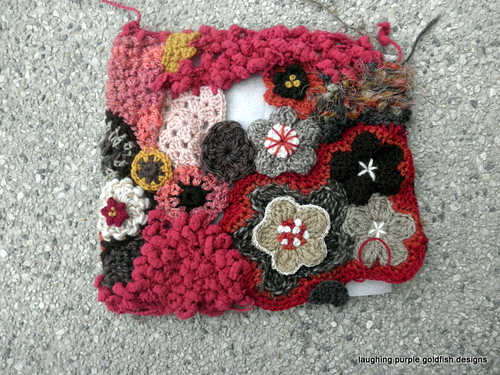
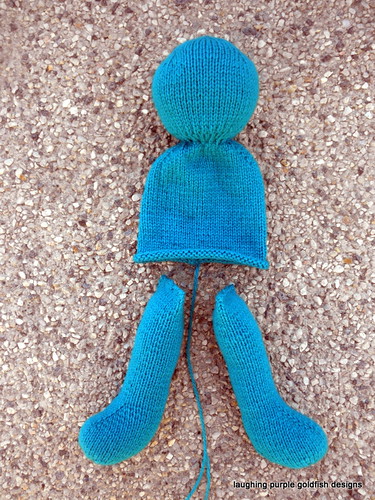
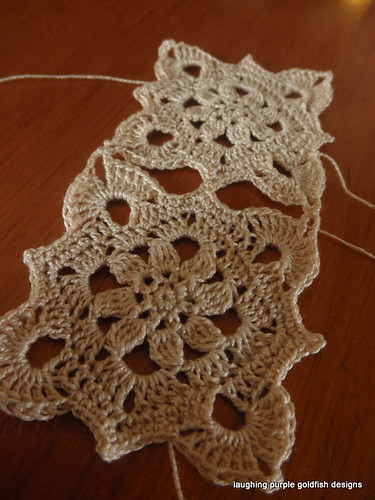
Thanks to everyone who posted in support of my 'mustard' addition to the Freeform Hat. I've worked on it some more, and I'm feeling a bit happier about the colour choice now. Will hopefully be able to post some FINISHED photos of the piece tomorrow.

But for today I'm heading back to that Designer's Challenge I talked about earlier in the month.

My plans changed dramatically on this!

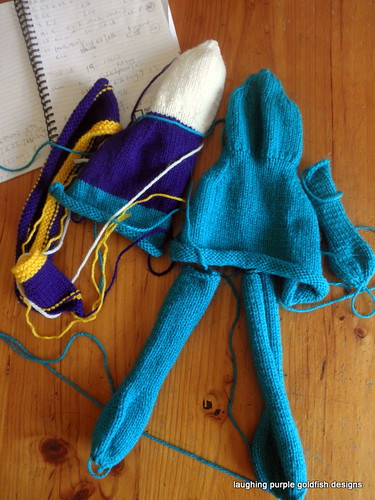
I originally thought I'd go with an alien style toy (as I so often do) but it would seem that the TOY idea didn't fit with the SCULPTURE/ART FORM requirement.

Oh well... back to the drawing board...

So then I was planning a set of three alien heads for the wall. Each one was going to be the size of a human head. I'd assessed my 'plastic coated cable' stash, and decided that I had enough green to make two of the heads, and would make the third head in red.

I couldn't have been more wrong!

I had to make the first head so tiny... and even then I ran out of cable...

So it was back to the drawing board AGAIN

This time I went for a different theme, and steered away from ALIEN and more towards CELESTIAL.

PA300013

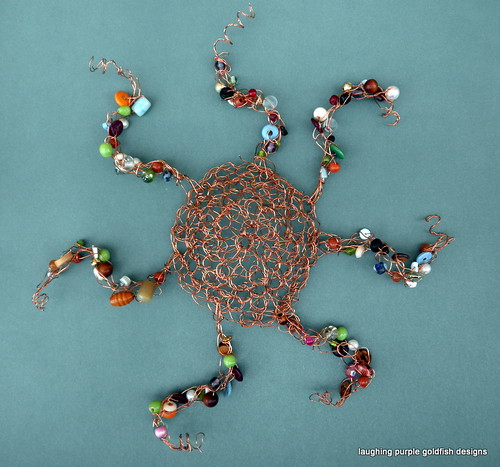
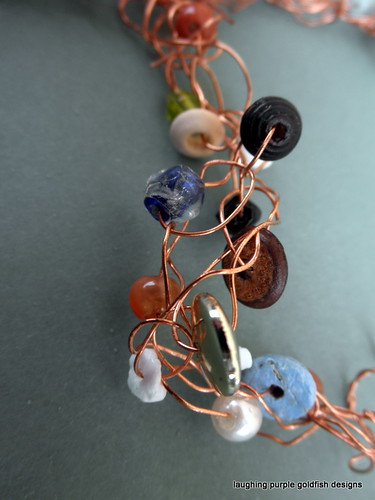
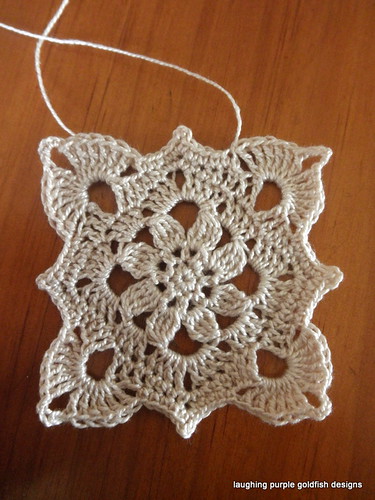
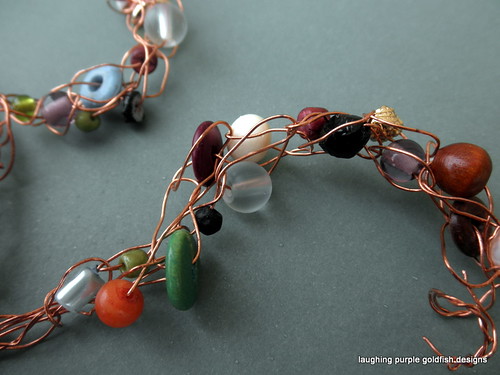
I worked up my representation of the sun, crocheted from recycled copper wire and embellished with a random assortment of beads. It's a piece of wall art, which measures 27cm across. I haven't yet decided where in my house it will live!

Here's the competition thread if you would like to see the other entries.

PA300017

Friday, October 28, 2011

Was I drunk?

PA280006

Do you ever sit up until the wee small hours of the morning, working on a project?

And you  know it's getting to be super late, but you don't want to go to bed... because you're IN THE ZONE and you don't want to lose the motivation?

Then in the cold hard light of day, do you ever look at your work and realise that what seemed INSPIRED the night before is actally a DISASTER?


What do you do about it???

PA280005

Can you see what I've done here?

I'm not sure that the photos really represent how ugly this is!

I've taken those beautiful Autumn-inspired tones and thrown in a dash of mustardy-vomit-crap!

It seemed like such a good idea at the time. I thought it was going to POP against the more muted tones... and it does POP, but for all the wrong reasons...

Usually I would just unravel my work and try something else, but I think I can save this piece.

And it just might involve adding some more of the ghastly colour...

We'll see.

Or else I may be tempted to follow in the footsteps of my friend Maree - when a project is not behaving itself, it's her policy to 'burn the b@stard'!

Meanwhile, here's my overall progress:

PA280004

and from the other side:


PA280003

Just a few more holes to fill, then some surface embellishing... before I work up the brim.

Thursday, October 27, 2011

Getting Messy

PA260001

So this is the back view of my Lacy Flower Runner.

Despite my good intentions, you can see that I haven't yet woven in any of those ends!

But I will - I promise... In fact I'm planning to darn them in at my next crochet meet.

Craft meets are a wonderful indulgence. I love to sit and craft away the day... surrounded by others who are blissfully doing the same thing!

It's fascinating to see what everyone else is working on. There's always new yarn to fondle and stitch patterns to admire. You can bounce around ideas and solicit help with tricky patterns or disobedient yarn.

Plus it's the ideal time for some of the more mindless tasks. That way you can chat with the others, and not worry about having to concentrate too much on your work.

So my ends will be darned in. Soon.

Wednesday, October 26, 2011

A Little More Freeform

PA250002

I've been piecing together some more of the Freeform Hat.

PA250003

Watch these pieces grow...

PA250005

First I stitched them together like this:

PA250006

Then worked around the outside edge in single crochet (sc) with the occasional half double crochet (hdc) added to smooth ot any internal corners.

PA250007

Followed by a round of crab stitch:

PA250008

So now I have two scrumbles:

PA250012

I've stitched them together

PA250014

And added them to the others on the template...

PA250015

Tuesday, October 25, 2011

The Nan Bear

PA230038

Isn't he adorable? I've lost count of the number of bears I have made from this Jean Greenhowe pattern - and they all turn out brilliantly!

Want to see some progress photos?

PA230007

First up - I always use new stuffing... I haven't yet found a recycled alternative which is low allergen and gives the same shape and softness.

PA230008

Starting with the head...

PA230009

Add some ears...

PA230012

A nose and a mouth...

PA230016

And if it was socially acceptable, that's exactly where I would stop!

The head is the fun part... that's where all the features are... and the personality.

The rest of it is kind of boring, but unfortunately most people would find it a little macabre if you were to gift a bear head - so I always feel obliged to add the body and limbs!

PA230022

Some legs..

PA230025

And arms...

PA230029

And a ribbon to finish him off...

Plus I always keep my scraps:

PA230030

Monday, October 24, 2011

Progress on a Bear

PA230002

I know that I've mentioned this to you all before... but I REALLY LOVE Jean Greenhowe's patterns. If you love to knit softies, and haven't seen her work yet - do yourself a favour and check out her website.

The patterns are incredibly well written - very clear with lots and lots of detail, and the softies themselves are beyond adorable. If you'd like to see a sample, there is a page full of free patterns here.

PA230006

So I've been working on a very special bear. It's a gift for my brother and his wife, who are expecting their first child in around seven weeks.

If you've been following my blog for a while, then you'll know that my dear Mum passed away a couple of years ago... at a very young 58 years of age.

Well, I've reclaimed the yarn from one of her cardigans... and I'm using it to make this bear for my brother's baby. Mum would have been SO involved in this whole baby thing if she was still here, and I mean REALLY involved - she would have been all over it. Her baby is having his own baby. I really feel sad for my brother that she can't share this experience with him.

But in this teeny tiny way, Mum can still be a part of it all.

The yarn itself is pretty fine, so I've worked with two strands held together as one and 2.75mm needles. I probably could have even used three strands of yarn... but it's done now:

 PA230003

Pop back tomorrow, and see how he comes together!

In the meantime, you can take a look back at this bear from a few years ago.

Friday, October 21, 2011

Making Ribbon Roses

PA150017


Taking a little break from the Fairytale Challenge today... so I thought I might share a clever technique I learned last weekend.

Making ribbon roses.

I always imagined that they would be fiddly to create - but they're not! In fact Master Nine mastered the technique too...

Now Master Nine is a bit of a Rough Nut, so I was incredibly surprised when he took an interest in what I was doing... Let's just say that he's not the kind of boy who would usually be interested in making flowers. In fact, he'd probably be horrified if he knew that I was sharing these pictures with you - after all - he has a REP to protect!


PA150007

So we fiddled around with various ribbons, and this one was the easiest to work with. The satin ones were just a bit too slippery for learning with, but this one has a bit of width and a rough texture which made it easier to grip. This particular ribbon was wrapped around one of our recent baby gifts - so of course we saved it for our craft stash.

PA150014

Basically, you find the centre of your ribbon length, and then fold each side back and forth across each other like the photo above shows. You probably remember making these accordion type folds with paper when you were younger. Obviously the ribbon doesn't fold neatly like the paper does... but it doesn't need to be that precise.

PA150015

Now I think this final step was the part which fascinated Master Nine the most. It really is quite clever. You pinch the end, holding one ribbon in place while you pull the other ribbon through.... and right before your very eyes, a rose will appear!

Try it for yourself and see.

To finish them off, you would use a needle and thread to secure the petals. But we were having so much fun with the process itself, that we kept pulling them out... and making them over and over again.

Some days we're very easily amused!

Thursday, October 20, 2011

Ack!

PA190005

So I've hit my first problem with the Fairytale Challenge.

The legs.

They've been a tricky concept from the beginning, because they need to do double duty - to look like Frog legs and Prince legs at the same time. So I've been trying to keep them very simple and non-descript.

The way I had made the legs, was so that they sat forward with the toes pointing up. They looked fabulous when I pinned them in place on the Prince, but when I flippped him into the Frog... not so hot!

I knew they weren't going to look like traditional frog legs - but these were WAY wrong! Instead of sitting forward, they came from his back with the toes pointing down.

Should have taken some photos to show you how wrong they were, but I didn't think to...

PA190003

Anyway, I put my thinking cap on and amended them a little. They're not how I anticipated they would be, but I'll make them work. I need to just move on and remember that the legs are not a major feature of either character. In fact the plan is for them to not really be noticed at all, because all the detailed work will be in the upper bodies.

Deep breaths, and moving on...

PA190006

Wednesday, October 19, 2011

So Far, So Good

The Fairytale Challenge continues!

I don't have much to say about it today, but here's a few more progress shots for you...

The Prince section was looking like this:

PA180001

Then I joined the Prince and the Frog together:

PA180002

The Frog now looks like this:

PA180004

And here's a sneak peek inside:

PA180005

And when I flip it around, the Prince looks like this:

PA180006

On the inside:

PA180007

And an unexpected bonus is that the piece can stand alone:

PA180008

Still a long way to go, but so far it's falling into place as I imagined it would. Now to see if I can work out how best to attach the legs...

Tuesday, October 18, 2011

Progress Report

PA180003

Thought I'd take the photo outside today, to give you a more true indication of the colour - but it's still not right! Never mind.

Here's my progress on the Frog section of Prince Charming.

As you can see, the legs are seamed and stuffed. And so is the head.

The body is seamed, but won't need filled... because that's where the body/head of the Prince will be hiding when he's not on display. Make sense? You'll see...

So I'm thinking that the body might be a bit on the small side... but hoping that it just looks small becasue it isn't filled yet.

Later today I'll piece together the Prince, and see if I can get the whole Topsy Turvy thing happening properly.

I'm desperate to add features to my frog to give him some personality - but holding back until I'm sure that the basics are in good working order. It's hard though... the 'decorating' is the fun part!

Can I Make It Work?

PA170023

So on Friday I was telling you about the Fairytale Challenge that I had started on...

For those of you who couldn't see the image I was using for inspiration, it was a drawing of a frog wearing a crown - undeniably Prince Charming.

And I've decided to make my very own Prince Charming. Along the lines of those Topsy Turvy dolls, only this one will flip from a frog into a prince!

I thought that it would be terribly unique and was feeling very, very clever about the entire thing...

But my research now tells me that this concept has been done before!

Never mind... I'll stick with my own version, and see how he turns out. Hopefully I can bring it all together into something successful.

The idea is that both the Prince and the Frog will have the same legs. The upper bodies will be different, and one will flip inside the other to change the characters over. The colours haven't shown very true in this photograph, but the frog is a slightly turquoise green, and the prince will be in purple and green.

Can I make it work?

Sure hope so! I'm certainly going to give it a try...

I'm planning to do some seaming and stuffing today, and I'll let you know how I go.

Friday, October 14, 2011

Fairytale Challenge

PA090019

Yes, I know that I haven't finished the Freeform Hat yet... or the Lacy Flower Runner... or the Space Theme Challenge... or the Stained Glass Challenge...

BUT

I've started on something new anyway (how unlike me)

This one is a Fairytale Challenge in the Design Along Group on Ravelry.

Basically you look to the mood board here for inspiration. Based on that you design an original piece, write up the pattern, and have it available on Ravelry by November 25th.

Can you do it? Of course you can!

Are you in???

I've chosen this little guy from the mood boards for my inspiration:

Thursday, October 13, 2011

Two Motifs Down

PA090010

Two motifs down... many more to go

It's incredible how easily the rhythm of the pattern is coming back to me.

PA090017

You can see that I haven't woven in any ends yet... BIG SURPRISE!