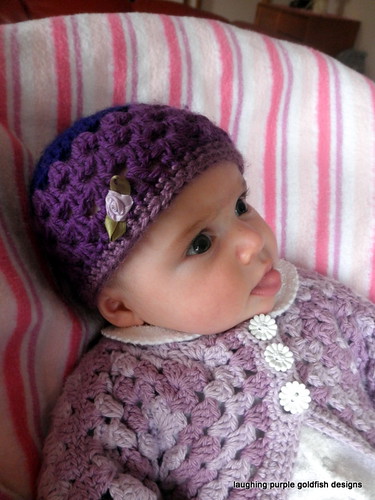
First of all, thanks to everyone for your lovely comments in response to my last post. Of course, I already think that my little one is an absolute cherub, but it was a joy to hear you guys echoing my thoughts! We love having her in our world, and feel truly blessed.
But let's move on to my craft for today:
Now, I don't know about you... but I always get a bit stuck with swap gift ideas.
The easy part of a swap for me is choosing what to make, and actually making it - the hard part is what kind of surprise gift to include.
Mostly because I don't BELIEVE in including an additional gift at all. I just think that the whole idea of a swap is that I send a hand crafted item to someone else, and then receive one in return... and that the idea of adding EXTRA goodies is just not necessary. The swap item IS your gift. Enough time and effort and thought and skill has already gone into creating it, and no additional gifts are needed.
Now I know that there are two schools of thought on this one, and that all sorts of of arguments have erupted within various groups regarding what is expected. So more and more these days, there are rules for the swaps which specify EXACTLY what is expected in terms of additional gifts, and amounts to be spent on them... which takes all of the fun out of it (in my opinion)
Anyway, this post wasn't really supposed to be about swap ethics and expectations...
(but feel free to add your thoughts in the comments section - 'cause it's always interesting to hear what other people think about these things)
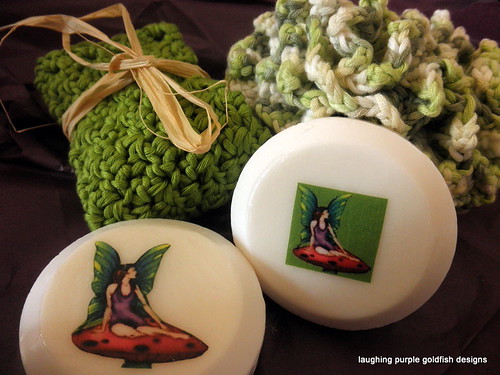
I just wanted to show you what I made for a recent 'bath goodies' swap.
I needed to include a small bath gift, in addition to the washer and scrubbie which I had already made... oh, and the recipient doesn't have a bath... so it needed to be something she could use in the shower.
to further complicate things, I do like to make things unique - and personal to the recipient, if I can...
so here's what I did:
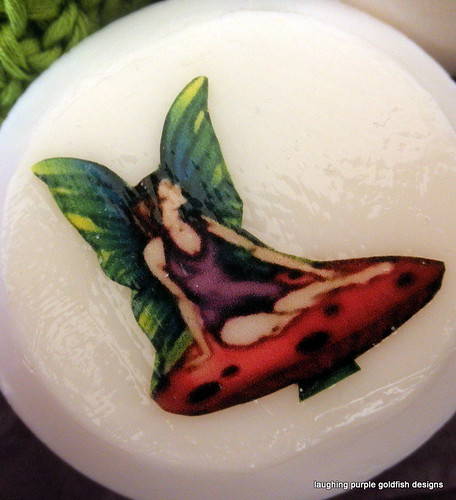
I decoupaged the ravatar (ravelry avatar) of the giftee onto some soap...
personal AND unique (and practical, since we all use soap)
It was super-duper easy. First I applied 2 coats of mod podge to one side of the soap. Then I copied the ravatar into a word document, and printed it out... cut it out and attached it to the soap, again using mod podge. Then there were another 5 or so coats of podge to seal it fully, and voila! All done.
Just reading over those instructions now, it SEEMS like I put a lot of effort in with all those coats being painted on - but really, each coat took about 15 seconds! You just need to allow drying time in between.
And it's easy for kids to do, too! My daughter (7 years old) made some Justin Bieber soaps for one of her school friends!
Anyway, the giftee loved the soaps (hello Pauline) and the only problem now is that she doesn't want to use them! Because they're just too noice...